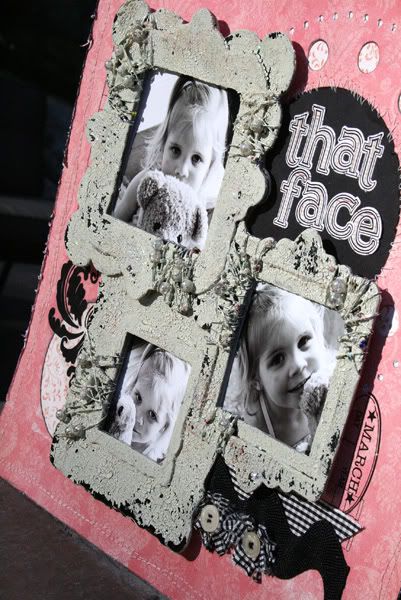
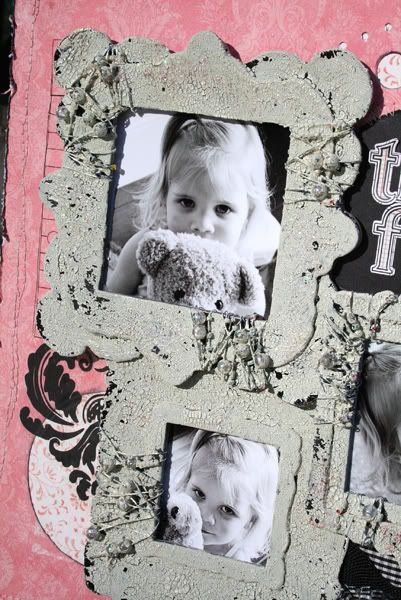
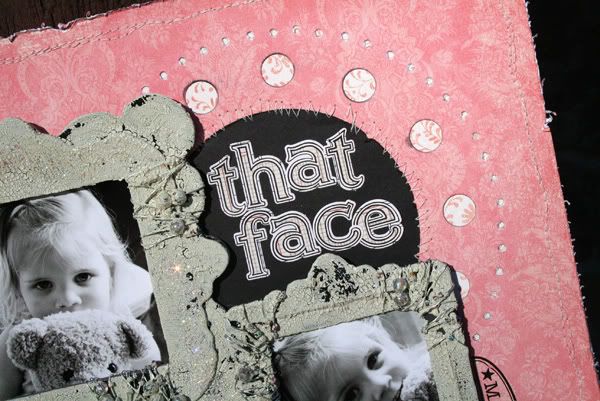
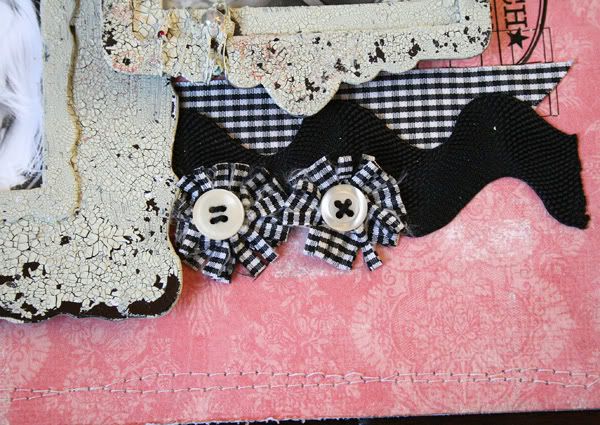
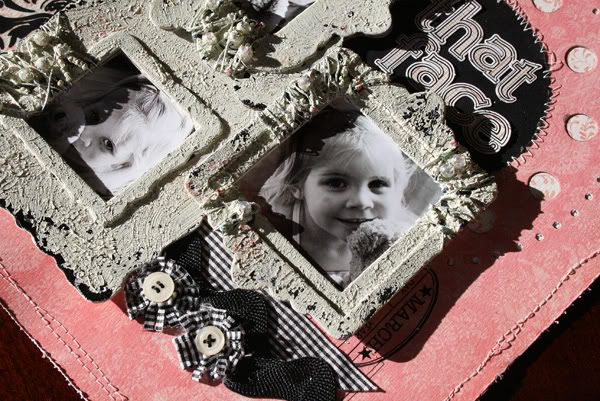
First the layout and detail shots. :)

SHABBY CHIPBOARD FRAMES
Supplies you will need: Chipboard frames (the ones I used are by Chatterbox), wire, various beads (don't worry about the color, they will be covered up later), Tim Holtz Distress Crackle Paint (I used the color called Old Paper), and paper towels to protect your work surface. Optional: Glitter/micro beads/etc.
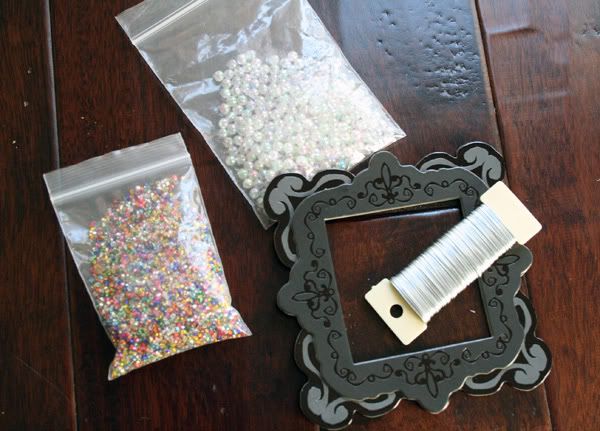
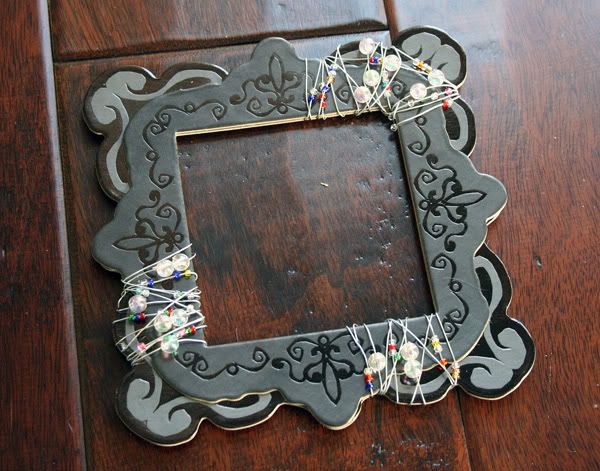
STEP 1: Cut a length of wire and start wrapping around your chipboard frame. As you wrap, add beads to the wire and arrange them on the front of the frame in a random pattern. You could cover the entire frame, or just a few sections like I did.
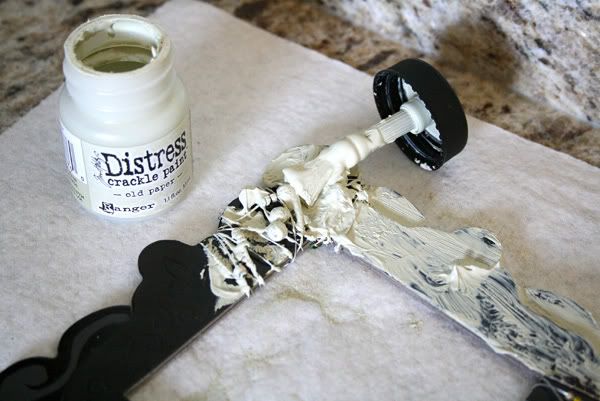
STEP 2: Lay your frame on a square of paper towel (this is to protect your work surface). Use the Crackle Paint to coat the frame, wire and beads. Pounce the brush over the wire and beads to get into the crevices. Don't worry about making this look pretty, just get it on there! LOL! The messier, the better! It will contribute to your shabby look! :)
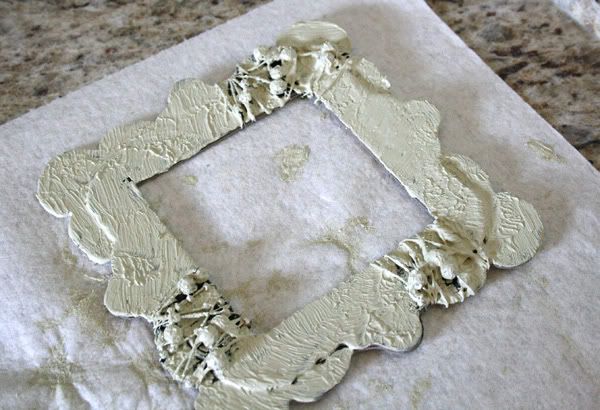
STEP 3: Allow to dry completely. If desired, you can add glitter or microbeads to the wet paint surface for added detail. I used glitter on mine, which you can see better in the 2nd detail picture below.
Thanks for looking!
Jana


Gorgeous as always Jana! Love this!
ReplyDeleteLove these!
ReplyDeleteyou are just TOO freakin' cool!! I LOVE this!!
ReplyDeleteThese are amazing! What a fantastic idea! I can't wait to try this!
ReplyDeletethis is so beautiful jana - and what a super cool technique. i am so gonna have to try this now. thx for the inspo girl :) smiles, m-
ReplyDeleteWow, Jana, what a great idea! I'll be using some crackle soon. Thanks for your kind comment about me quitting UA. I'm rooting for ya!
ReplyDeleteSuper creative!!! Love that look!
ReplyDeleteYUMMY - going to try this!
ReplyDeleteSuch a cool technique! Love the lo, she really is to precious.
ReplyDeleteThe frames are just gorgeous Jana!
ReplyDeleteGreat tutorial! I love the look of crackle paint, it is so vintage!
ReplyDeleteJana! I don't know how I've never stumbled across your blog before, but I've been so inspired to create after looking back several months of blog-goodness. You do some remarkable art and I am so excited to have met it.
ReplyDeleterizamerk@cox.net
Theresa
Fantastic tutorial...Gorgeous layout...I really luv the shabby/vintage look !!!!!!
ReplyDeleteI love the look and texture of those frames!!! Thanks for the tutorial! It looks like a lot of fun to make!
ReplyDeleteI love this. And going to try the painting as soon as I can. Thanks for the step by step.
ReplyDeleteAlso, I like the little black and with flowers..